The process of using JavaScript to create review invitations for your website. By following these steps, you can enhance user engagement and encourage customers to leave valuable reviews.
Step 1: Inject the Script
To begin, you need to load the JavaScript script into the <head> element of every page on your website. This script is responsible for handling the review invitation functionality. Add the following code snippet to your HTML source code:
Step 2: Register for Extra Services
To access additional services, you must register your function key. This step is optional but recommended if you want to make full use of the review invitation features. Insert the following code snippet:
Example
<script>
tfn.register("g5bVvEEv7PSkVjZ2");
</script>
Step 3: Create an Invitation
Now, let's create an invitation to send to your customers. You need to insert the invitation code on your thank you page or order success page. This code should be triggered when the page loads. Use the example below as a reference and modify the values according to your requirements:
Example
<script>
document.addEventListener('DOMContentLoaded', function() {
const customerInvitation = {
customerEmail: 'peter@gmail.com',
customerFirstName: 'Peter',
customerLastName: 'Wung',
};
tfn.createInvitation(customerInvitation);
});
</script>
Make sure to replace the sample email, first name, and last name with actual customer data.
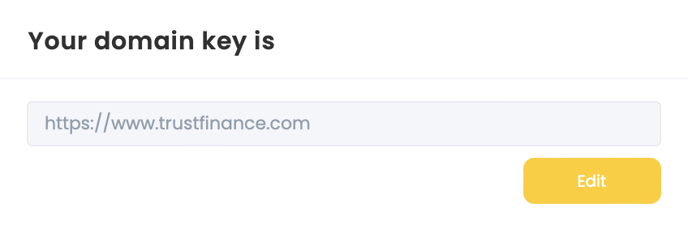
Step 4: Add Your domain Key
This step helps to establish a secure and authorized integration, allowing the review invitations to function correctly.

